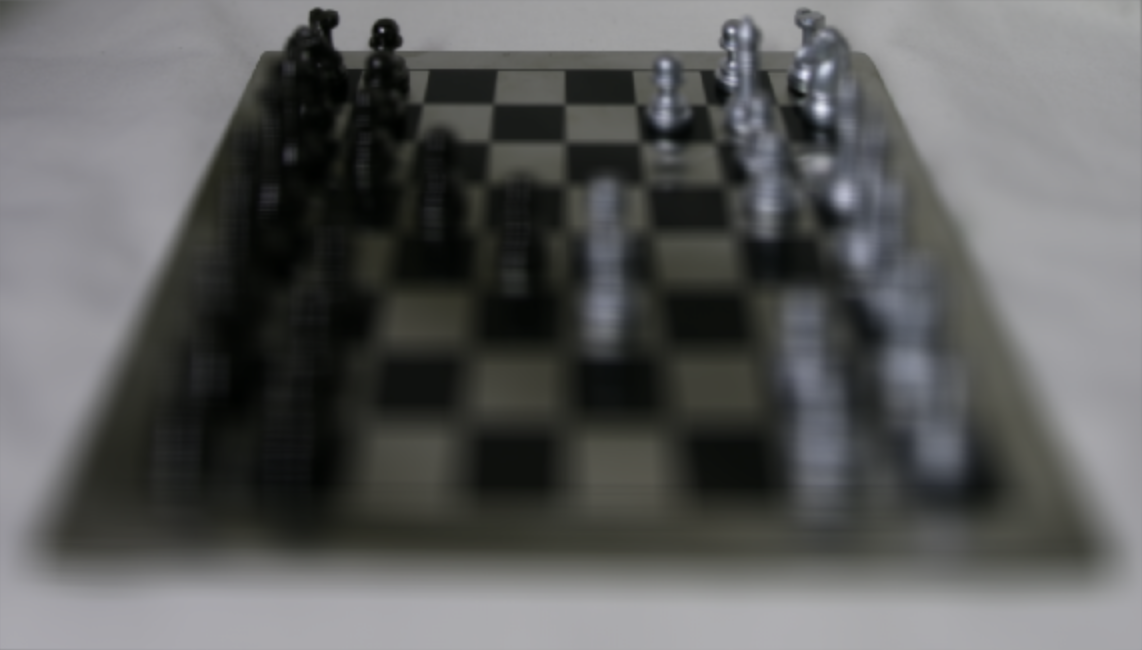
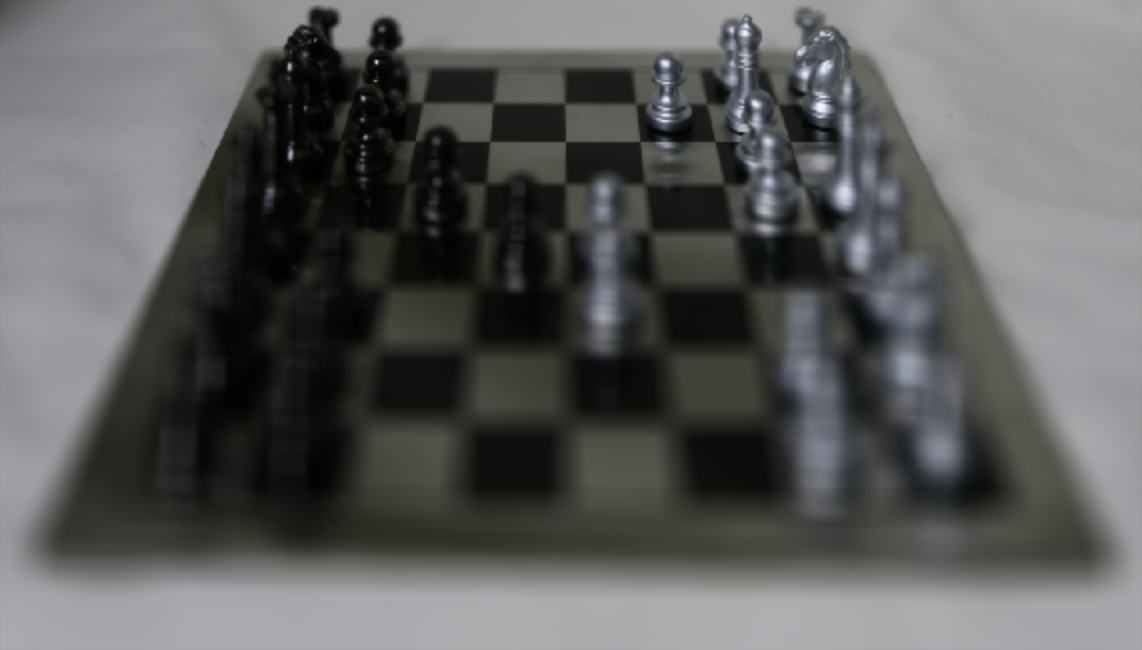
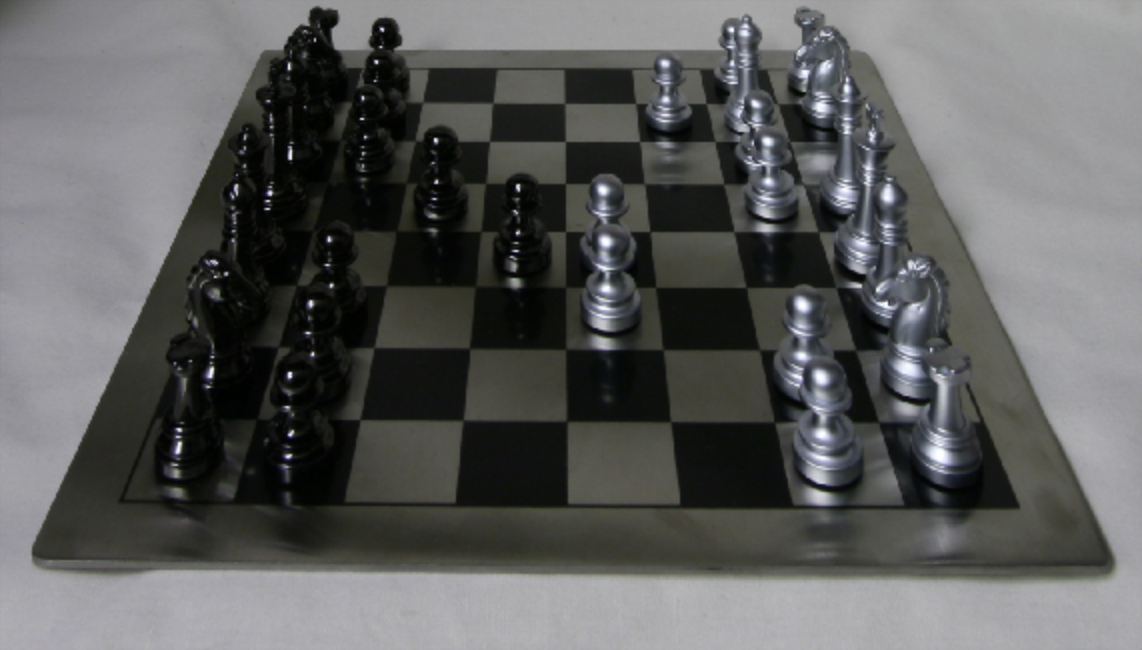
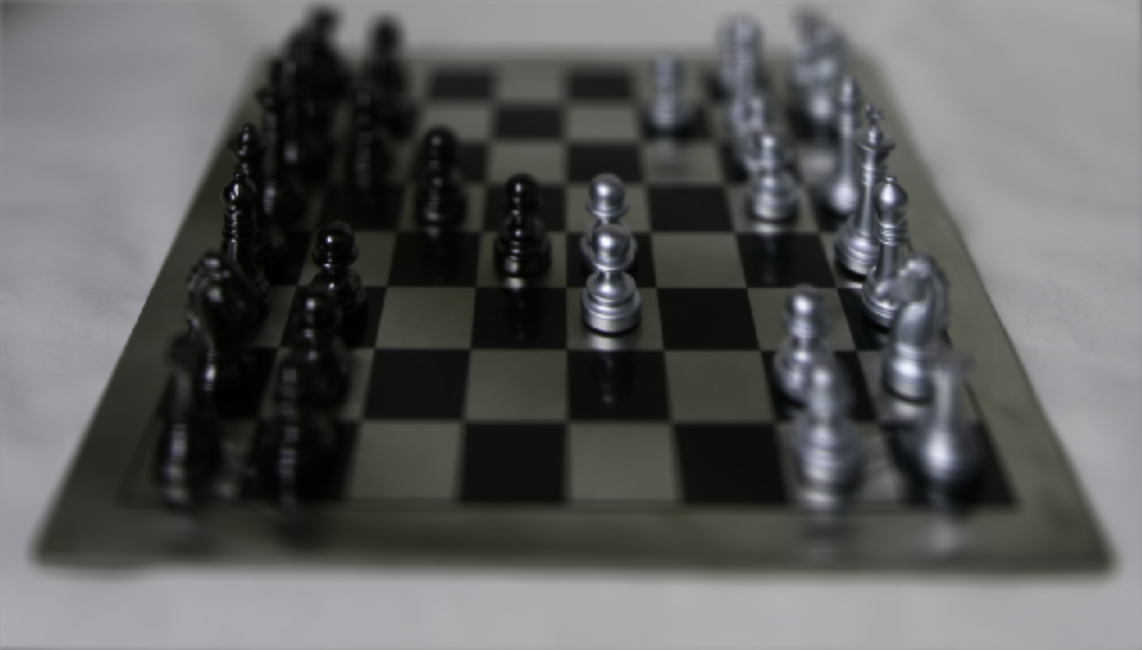
GIF of Depth Refocusing
As this paper (https://graphics.stanford.edu/papers/lfcamera/lfcamera-150dpi.pdf) by Ng et al. (Ren Ng is the founder of the Lytro camera and a Professor at Berkeley!) demonstrated, capturing multiple images over a plane orthogonal to the optical axis enables achieving complex effects using very simple operations like shifting and averaging. The goal of this project is to reproduce some of these effects using real lightfield data.
The Stanford Light Field Archive has some sample datasets comprising of multiple images taken over a regularly spaced grid. You can use any of the available datasets for this project (use the rectified images). You are also encouraged to go over Section 4 of the paper mentioned above to truly appreciate how a very simple idea of placing multiple sensors combined with elementary operations can lead to such beautiful results.
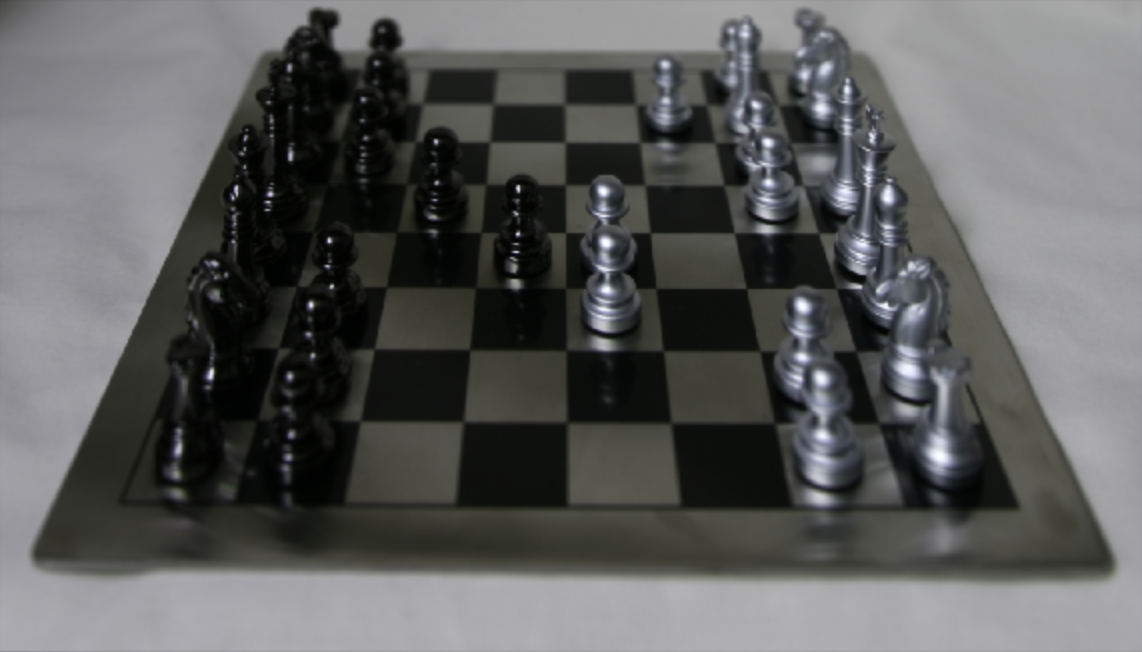
The objects which are far away from the camera do not vary their position significantly when the camera moves around while keeping the optical axis direction unchanged. The nearby objects, on the other hand, vary their position significantly across images. Averaging all the images in the grid without any shifting will produce an image which is sharp around the far-away objects but blurry around the nearby ones. Similarly, shifting the images 'appropriately' and then averaging allows one to focus on object at different depths. In order to implement this, I first downloaded all the rectified images of the chess board from the Stanford Light Field Archive. The filename consisted of the locations of each image on the grid and the coordinates of where the image is centered at. The grid is 17 x 17 with locations on the grid ranging from (0, 0) to (16, 16). The middle image is at location (8, 8). Then, I take each image's coordinates and calculate the shift in the x and y directions from the middle image's coordinates. I multiply the shifts by some weight to vary the depth of focus which affects where in the image a section is more / less blurry. Using these weighted shifts, I shift the image. Finally, I averaged all the images to get the final result. To get the GIF, each frame was the result of this process repeated with a range of shift weights from [-0.15, 0.65] in 0.01 intervals.
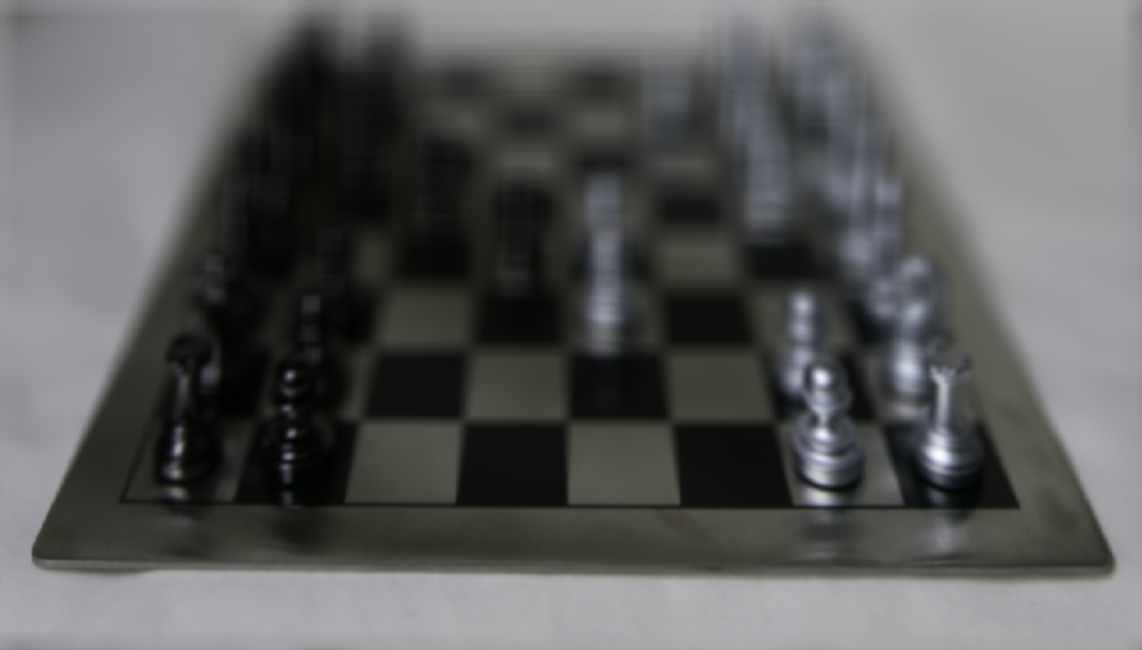
Averaging a large number of images sampled over the grid perpendicular to the optical axis mimics a camera with a much larger aperture. Using fewer images results in an image that mimics a smaller aperture. In this part of the project, I generate images which correspond to different apertures while focusing on the same point. In order to implement this, I used the code from the previous part but instead of iterating over a grid of 17 x 17, I iterated over a grid of radius r around the middle image at (8, 8). So, if the radius was 2, the grid would be including images from (6, 6) to (10, 10). In order to create the GIF, I iterated over all radii from [0, 8] to create each frame.
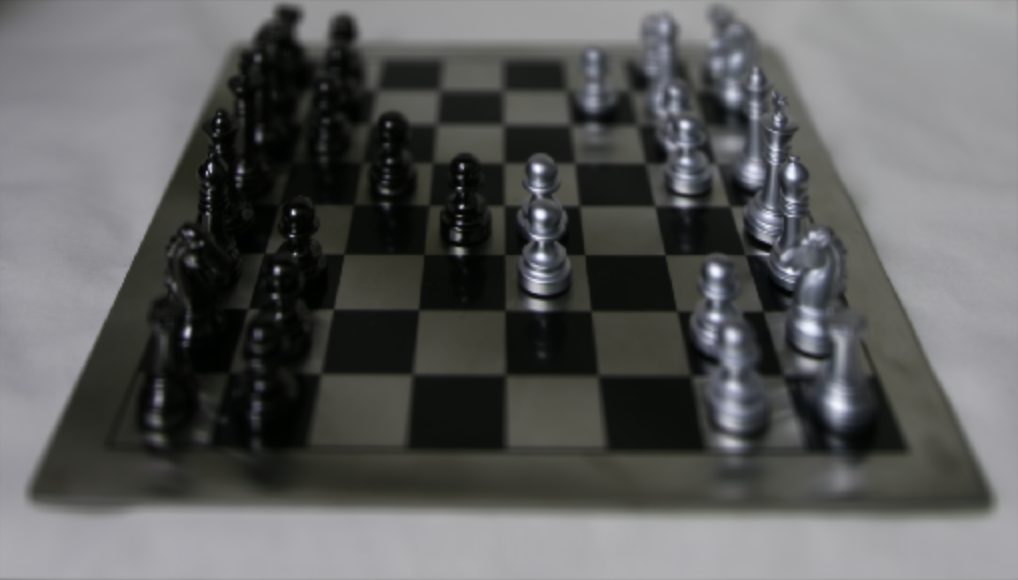
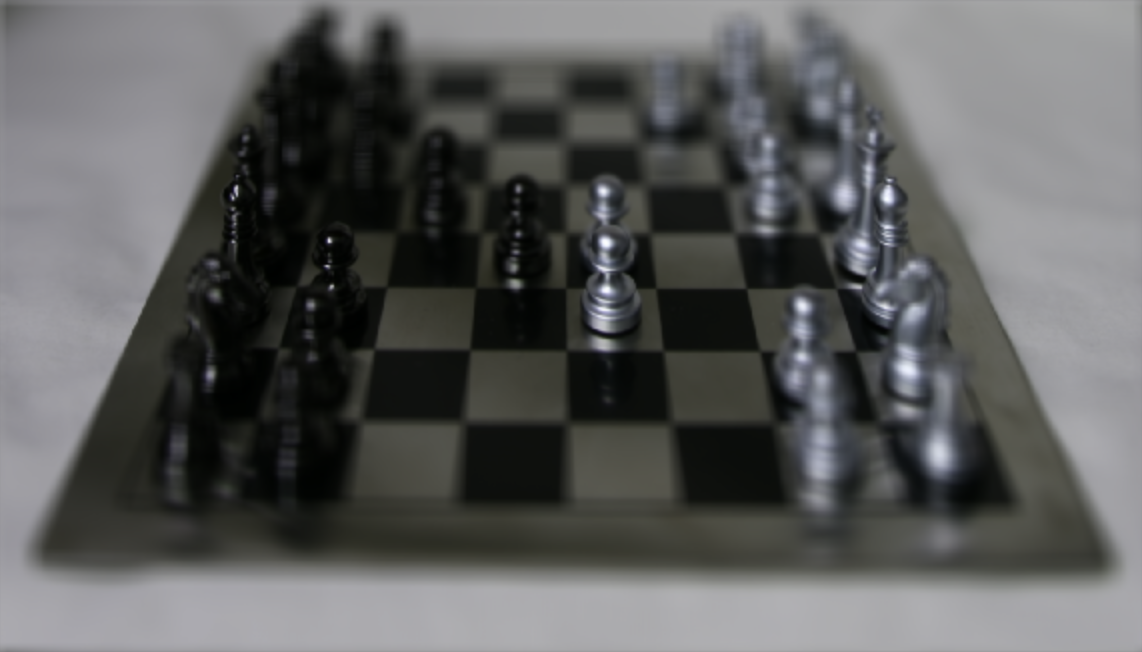
From this project, I learned about how I can average images centered at different coordinates and shifted to mimic depth refocusing. Furthermore, I learned that when I average more images, I am using more information to create the final image because there is data coming in from more angles, which mimics the wide aperture as the wide aperture lets more light rays in from various angles. When using a narrower aperture, the light rays are more perpendicular to the sensor as I am now sampling from less angles which results in more objects (chess pieces) being in focus. This effect is mimicked by using fewer images.